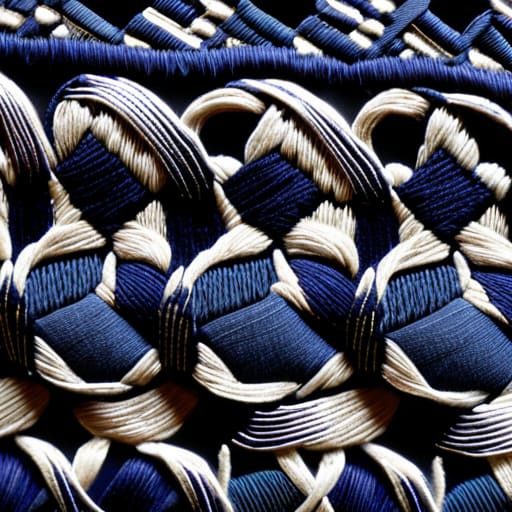
I can still feel the phantom ache in my fingertips from that first attempt at a traditional pattern. I was sitting under a dim lamp, surrounded by half-finished scraps of indigo denim, staring in absolute frustration at a mess of crooked lines that looked more like a spiderweb than a deliberate design. I thought I just needed a more expensive ruler or some high-tech marking tool to finally master Sashiko geometric stitch spacing, but the truth was much simpler—and much more frustrating. I was fighting the fabric instead of finding its natural rhythm.
Look, I’m not here to sell you on some complicated mathematical formula or a specialized kit that costs fifty bucks. I’ve spent years making every possible mistake so you don’t have to. In this guide, I’m going to give you the straight truth about how to handle Sashiko geometric stitch spacing using nothing but your own eyes and a bit of muscle memory. We’re going to skip the fluff and focus on the real-world techniques that actually keep your lines straight and your geometry crisp, even when your hands are tired.
Table of Contents
Architectural Layouts and Traditional Japanese Embroidery Patterns
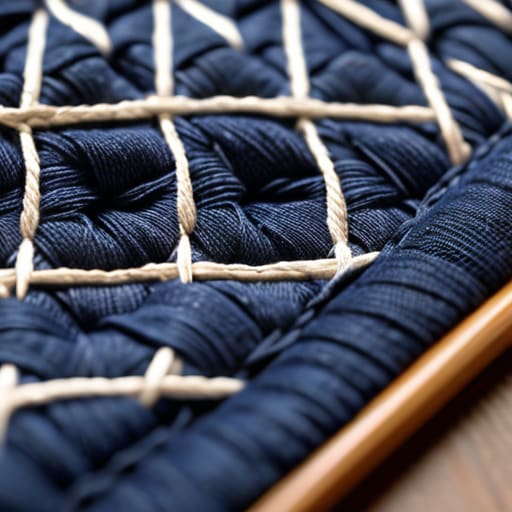
When you dive into the actual designs, it’s easy to get lost in the sheer beauty of the traditional Japanese embroidery patterns that have been passed down for centuries. These aren’t just random lines; they are mathematical marvels. Whether you’re working on the interlocking diamonds of Asanoha or the flowing waves of Seigaiha, the foundation relies entirely on your ability to map out a precise geometric pattern layout before you even pick up your needle. If your initial grid is slightly off, the entire motif will begin to warp as you progress, turning a structured design into something unintentionally wonky.
It’s also worth remembering that these patterns originally served a heavy-duty purpose. Long before they were decorative, they were essential textile reinforcement techniques used to toughen up thin layers of indigo cloth. This means your layout needs to account for the structural integrity of the fabric. You aren’t just decorating a surface; you are essentially building a new, stronger layer of textile through the sheer repetition of your stitches.
Achieving Perfect Running Stitch Consistency
Achieving Perfect Running Stitch Consistency
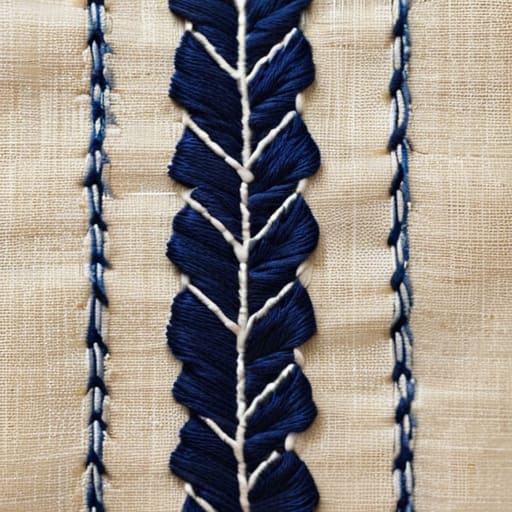
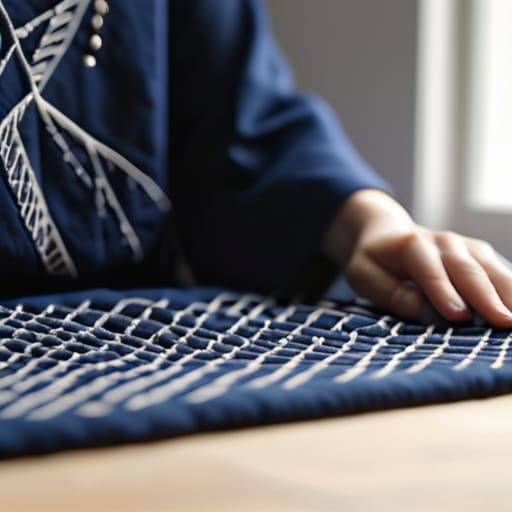
If you’ve ever stared down a long row of stitches only to realize the third one is a tiny fraction shorter than the rest, you know exactly how frustrating this can be. To get that crisp, professional look, you have to treat your needlework like a rhythmic exercise. It’s not just about moving the thread; it’s about finding a steady tempo. I’ve found that focusing on my breathing helps—if my hands are tense, my stitches become erratic. Maintaining running stitch consistency really comes down to that meditative flow where the distance between the entry and exit points of the needle becomes second nature.
Don’t blame your hands if you’re struggling; often, the culprit is actually your gear. If you’re using a thread that’s too thick or a needle that’s fighting the weave, your spacing will inevitably drift. When I’m mending worn fabric, I always make sure I’ve selected the right sashiko needle and thread types to ensure the tension stays even. If the thread is too heavy, it pulls the fabric unevenly, throwing off your entire geometric pattern layout. Take your time, check your tension often, and let the rhythm guide you.
Pro-Tips for Keeping Your Lines Sharp
- Don’t rely on your eyes alone; use a ruler or a specialized sashiko marking tool to map out your grid before you even touch the needle to the fabric.
- Keep your tension light—if you pull the thread too tight, your fabric will pucker, which completely throws off the visual rhythm of your geometric spacing.
- Use a needle that’s just a hair larger than you think you need; a slightly thicker needle helps guide the thread and keeps those running stitches from drifting.
- Treat your thread like a rhythmic beat—try to find a steady pace with your hand movements to ensure every single stitch is the exact same length.
- Check your alignment every few rows by stepping back a few feet; it’s much easier to fix a slight drift early on than to try and salvage a crooked pattern at the end.
Quick Wins for Better Geometry
Don’t rush the layout; use a water-soluble pen or even a ruler to map out your grid first, because one wonky line can throw off the entire geometric flow.
Focus on your rhythm rather than just speed—consistent stitch length comes from a steady hand and a relaxed breathing pattern, not from forcing the needle.
Always check your tension frequently, as pulling your thread too tight will cause the fabric to pucker, ruining that crisp, architectural look you’re aiming for.
The Soul in the Spacing
“Sashiko isn’t about forcing every stitch into a rigid, mathematical line; it’s about finding that steady, breathing rhythm where the space between the threads becomes just as intentional as the thread itself.”
Writer
Finding Your Own Rhythm
If you find yourself struggling to keep those lines straight when the pattern gets complex, I’ve found that having a dedicated space to unwind and find a bit of mental clarity makes a world of difference. Sometimes, taking a break to explore something completely different on adultchat can actually help you reset your focus before diving back into those intricate geometric grids. It’s all about finding that perfect creative balance so you don’t approach your needlework feeling burnt out or frustrated.
At the end of the day, mastering sashiko isn’t just about following a blueprint or hitting every single measurement with mathematical precision. It’s about the marriage of architectural intention and the steady, repetitive motion of your hand. We’ve looked at how traditional patterns provide the structural foundation, and how maintaining that consistent running stitch is what ultimately brings the geometry to life. When you respect the spacing, you aren’t just decorating fabric; you are honoring the structural integrity of the design itself, ensuring that every intersection and every line feels intentional rather than accidental.
As you pick up your needle for your next project, try not to let the fear of a “mistake” slow your momentum. Sashiko is a practice of patience, and sometimes the most beautiful pieces are the ones that show the subtle, human variations in the thread. The goal isn’t to create a sterile, machine-made imitation, but to develop a personal rhythm that feels natural to you. Let the geometry guide you, but let your own steady hand find its unique cadence. Once you stop fighting the needle and start flowing with the pattern, you’ll realize that perfect spacing is less about perfection and more about presence.
Frequently Asked Questions
How do I keep my spacing even when I'm working around tricky curves or corners?
Curves are where the rhythm usually falls apart, but that’s where the real magic happens. My trick? Slow down and use “anchor stitches.” Instead of trying to eyeball a long, sweeping arc, break the curve into tiny, straight segments. Think of it like drawing a circle with a ruler—lots of little straight lines. Also, don’t be afraid to use a fine chalk pencil to map out those pivot points before you ever touch the needle.
Is it better to use a ruler to mark my guide lines, or should I just eye it as I go?
Look, I get the temptation to just wing it—there’s a certain flow to eyeballing your lines once you get into a rhythm. But if you’re working on a complex geometric pattern, please, use a ruler. Even a tiny drift early on turns into a massive, frustrating mess by the time you reach the edge of your fabric. Mark those guide lines clearly; it’s much easier to follow a path than to fix a crooked grid later.
What should I do if I realize halfway through a pattern that my stitches are starting to drift?
Don’t panic—we’ve all been there. If you notice your lines starting to wander, the worst thing you can do is try to “stitch through” the mistake to fix it. Stop immediately. Unpick the section where the drift began. It’s frustrating, I know, but trying to force a crooked line only ruins the geometry later on. Take a breath, re-mark your guide lines with a chalk pencil, and start that section fresh.