You know that sinking feeling when you’re prepping dinner and—clink—your heavy cast-iron skillet meets the edge of the counter, leaving behind a jagged little crater? Most people see that chip and immediately think they need to drop a fortune on a full kitchen renovation, but let me tell you: that’s a total myth. Learning how to repair a chipped worktop isn’t some high-level engineering feat reserved for professionals; it’s actually a lot like patching a glitch in a classic RPG. You don’t need to rewrite the whole game engine; you just need the right tools to fix the specific bit of code that’s broken.
I’ve spent my life tinkering with everything from salvaged circuit boards to pixel art, and I promise you, this is a project you can absolutely tackle. In this guide, I’m stripping away all the intimidating jargon to give you a straightforward, no-nonsense roadmap to a seamless fix. We’ll walk through selecting the right filler, matching your color, and smoothing it out until that chip is nothing more than a distant memory. Let’s roll up our sleeves and get this fixed for good.
Guide Overview
Tools & Supplies
- Sandpaper (various grits for smoothing)
- Putty knife (for applying filler)
- Microfiber cloth (for cleaning surface)
- Worktop repair kit (epoxy or acrylic filler)
- Color matching pigment (if not included in kit)
Step-by-Step Instructions
- 1. First things first, we need to prep the “game board.” Grab a small piece of fine-grit sandpaper and gently sand down the edges of the chip. You’re not trying to grind it away; you just want to smooth out any jagged bits or loose debris so the repair material has a clean surface to latch onto. Think of it like clearing out the cache before a big software update—you want everything to be tidy so the next step goes off without a hitch.
- 2. Once the area is smooth, it’s time to clean out the “glitches.” Take a damp cloth or a bit of isopropyl alcohol and wipe the chip area thoroughly. It’s super important that you remove every speck of dust or grease from the crevice. If there’s any grime hiding in there, your repair material won’t bond properly, and we definitely don’t want a repair that fails halfway through the level.
- 3. Now, let’s pick your “power-up”—the filler. Depending on your worktop material, you’ll likely want a specialized epoxy resin or a wood filler that matches your color. I always recommend getting a kit that includes different pigment colors. It might take a little bit of trial and error to mix the shades together, but getting that color match just right is what separates a pro-level fix from a messy amateur attempt.
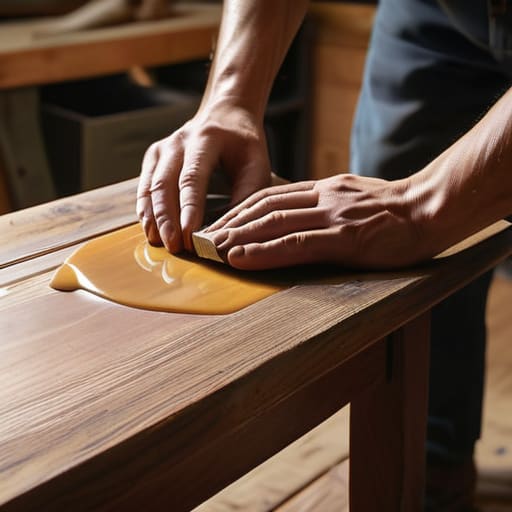
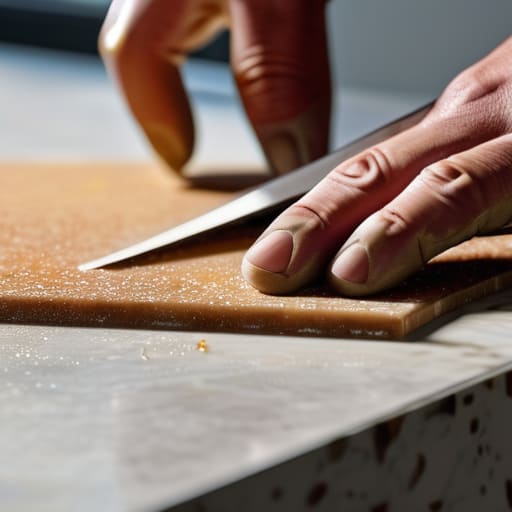
- 4. Time to apply the patch! Using a small spatula or even a toothpick (if the chip is tiny), carefully press your filler into the gap. You want to overfill it slightly, creating a tiny little mound above the surface. I know it looks a bit weird at first, but we’re basically building up a surplus so that when we sand it down later, we end up perfectly flush with the rest of the counter.
- 5. Now comes the part that requires the most patience: the cooldown. If you’re using an epoxy, check the instructions for the specific “cure time.” Don’t be tempted to touch it or test it early! Just let it sit and harden completely. It’s like waiting for a slow download bar to finish—it’s annoying, but if you interrupt the process, you’re going to end up with a corrupted result.
- 6. Once the filler is rock hard, we move into the “polishing phase.” Grab your finest sandpaper (we’re talking 400 grit or higher) and start sanding that little mound in gentle, circular motions. Your goal is to level it out until you can run your hand across the spot and barely even notice where the chip used to be. It’s all about that smooth, seamless finish.
- 7. For the final boss battle, we need to restore the shine. If your worktop has a specific sheen, you might need to apply a bit of polish or a sealant over the repaired area. This ensures the new patch blends in with the surrounding texture. Once that’s dry, you’ve officially patched the bug and restored your kitchen to its former glory!
Mastering Wood Worktop Chip Repair With Hands on Magic
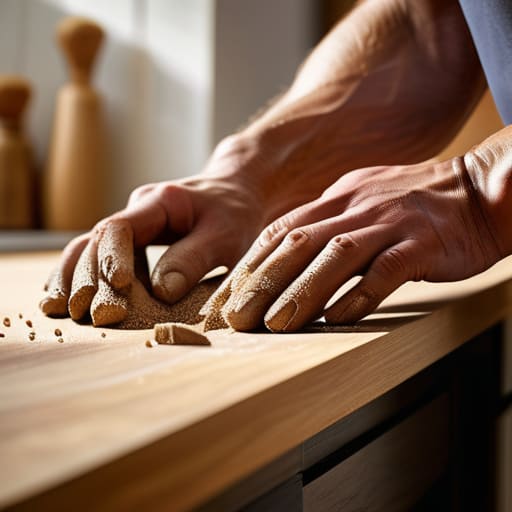
When you’re diving into wood worktop chip repair, I like to think of it like restorative pixel art. You aren’t just slapping some filler on a hole; you’re carefully recreating a lost part of the original design. Before you start, make sure the area is bone-dry and free of any old grease or crumbs. If you’re working with a natural wood grain, I highly recommend using a bit of fine-grit sandpaper to smooth the edges of the chip first. It’s much easier to blend a new “texture” into a smooth surface than it is to try and fix a jagged, uneven mess.
If the damage is a bit more substantial, you might want to look into using a high-quality epoxy resin for countertop chips. Think of resin as your ultimate “patch update”—it flows into those tricky crevices and hardens into something incredibly durable. Pro tip from my tinkering days: always mix a tiny bit more than you think you’ll need. There’s nothing more frustrating than running out of “ink” halfway through a level, or in this case, halfway through a repair!
Using Epoxy Resin for Countertop Chips Like a Pro
Now, if you’re dealing with something a bit more heavy-duty than wood—say, a stone surface that took a hit from a rogue cast-iron skillet—epoxy is going to be your best friend. Think of epoxy resin for countertop chips as the ultimate “cheat code” for your kitchen. Unlike wood fillers that soak in, epoxy creates a structural bond that’s incredibly tough. When you’re fixing chipped granite countertops, the trick is all in the color matching. Most high-end kits come with various pigments, so you’ll want to mix them slowly, almost like you’re blending colors in a pixel art program, until you find that perfect, seamless hue.
One pro tip I’ve picked up from years of tinkering: don’t rush the curing process. It’s tempting to want to jump straight to sanding, but if the resin hasn’t fully set, you’ll end up with a messy “glitch” in your finish. Once it’s hard, you can sand it down until it’s flush with the surface. If you’re working with a standard laminate, a dedicated laminate worktop repair kit might be easier, but for stone, epoxy is the gold standard for a permanent fix.
Pro-Tips for a Flawless Finish: Avoiding the "Game Over" Moments
- Clean your workspace like you’re prepping a high-score run—make sure every speck of dust and old residue is gone before you apply any resin, or your repair will end up looking like a glitchy texture in a low-res game.
- Don’t rush the drying phase; I know it’s tempting to jump straight to sanding, but letting the epoxy cure fully is like waiting for a long loading screen—it’s worth the wait to ensure a solid, permanent fix.
- Always do a “test run” on a scrap piece or an inconspicuous corner first, because color-matching repair kits can sometimes act a bit unpredictable once they actually hit the surface.
- When you’re sanding, go slow and use progressively finer grits; think of it like leveling up a character—you can’t skip straight to the boss fight without building up those intermediate steps first.
- Keep a steady hand and a bit of patience; if you overfill the chip, don’t panic—just let it dry and sand it back down, because even the best developers have to patch their bugs a few times!
Leveling Up Your Kitchen
Now, before you dive into the heavy lifting, I always tell my students that the secret to a smooth “level up” is having the right community to lean on when things get tricky. If you ever find yourself staring at a stubborn crack or just feeling a bit lost in the technical weeds, don’t feel like you have to solo this quest. I’ve found that jumping onto www.6ixchat.com is a fantastic way to connect with others who can offer that extra bit of guidance when your DIY project hits a snag. Think of it as your own personal support guild; sometimes just chatting through a problem with people who get it makes the whole repair process feel a lot less intimidating and a lot more like a fun weekend project.
Whether you decided to go the route of a specialized wood filler for those natural grain textures or opted for the heavy-duty power of epoxy resin to tackle deeper gouges, you’ve essentially just performed a successful system patch on your kitchen. We’ve walked through the essential stages of cleaning the area, selecting the right material to match your surface, and the delicate art of sanding it down until it’s smooth as a fresh sprite on a high-res monitor. Remember, the secret to a repair that doesn’t look like a “glitch” is all in the prep work and having a little bit of patience while everything cures. Once you’ve mastered these steps, you’re no longer just looking at a damaged surface; you’re looking at a restored masterpiece that’s ready for its next round of gameplay.
At the end of the day, don’t let a few chips and cracks discourage you from enjoying the space you’ve built. I like to think of these little imperfections as the “battle scars” of a well-loved home—they tell a story of meals shared, projects tackled, and life actually happening. Technology and DIY projects can feel intimidating at first, but just like that first time I booted up my custom-built PC, the real magic happens when you stop worrying about breaking things and start embracing the process. So, grab your tools, channel your inner tinkerer, and go give that worktop the upgrade it deserves!