I was sitting in my home office last Tuesday, staring at a wobbly, mid-century side table that had seen better days, when I realized I was about to do something incredibly foolish: I was actually considering buying a new one. We’ve been conditioned to believe that once a joint loosens or a finish scratches, the item is “bricked,” much like an old console with a dead capacitor. But here’s the truth: learning how to repair furniture instead of replacing it isn’t about being a master carpenter; it’s about having the same tinkerer’s mindset I used when I was ten years old, pulling apart salvaged computers to see how they ticked.
In this guide, I’m stripping away the intimidating jargon to give you a practical, no-nonsense roadmap for restoration. We aren’t going to talk about expensive industrial machinery or complex joinery that requires a degree; instead, I’ll show you how to tackle the most common glitches in your home decor with simple, effective fixes. Whether it’s stabilizing a shaky leg or buffing out a stubborn scuff, you’re going to learn how to breathe new life into your favorite pieces, turning a potential trip to the landfill into a rewarding weekend project.
Guide Overview
Tools & Supplies
- Sandpaper (various grits for smoothing surfaces)
- Screwdriver (to tighten loose joints or hardware)
- Hammer (to tap joints or remove old nails)
- Microfiber cloth (for cleaning and applying finishes)
- Wood glue (1 small bottle for structural repairs)
- Wood filler (1 small container to plug holes/cracks)
- Furniture wax or polish (1 tin for surface protection)
- Stain or paint (1 small can for color matching)
Step-by-Step Instructions
- 1. First things first, you’ve got to perform a full system diagnostic on your piece of furniture. Just like I used to probe a motherboard for a faulty capacitor, I want you to clear off the surface and look closely at the damage. Is it a loose joint, a deep scratch, or a wobbly leg? Grab a flashlight and poke around the underside; you need to know exactly what you’re up against before you even think about grabbing a screwdriver.
- 2. Once you’ve identified the “glitch,” it’s time to gather your hardware. You don’t need a professional workshop, but you should round up some essentials like wood glue, a mallet, some sandpaper (varying grits, please!), and maybe a set of clamps. Think of this as assembling your starter kit—if you were building a PC, you wouldn’t try to install a CPU without a steady hand and the right thermal paste, right?
- 3. If the issue is a wobbly leg or a loose joint, we’re going to perform a bit of a structural reboot. Gently pull the joint apart—don’t force it like you’re trying to overclock a vintage console!—and scrape away any old, crusty glue residue. This is crucial because new glue won’t bond to the old stuff, and we want this fix to be as solid as a brick.
- 4. Now, apply your wood glue to the cleaned surface with a bit of precision. Once the glue is in place, press the pieces back together and use your clamps to hold everything in a tight, steady grip. This is the “loading screen” phase of the project; you’ll need to let it sit undisturbed for at least 24 hours to ensure the bond fully sets.
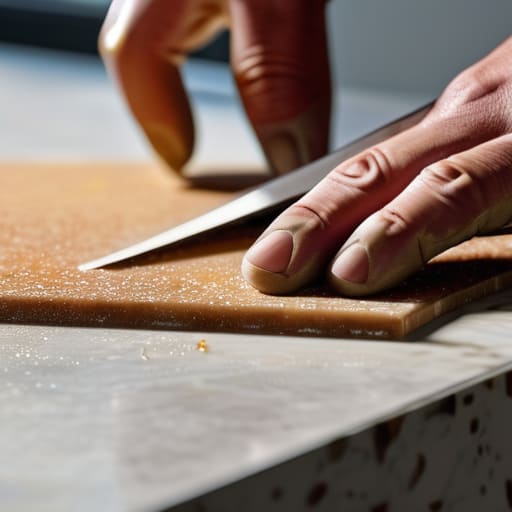
- 5. For those pesky surface-level scratches or scuffs that look like visual artifacts on an old CRT monitor, we’re going to use some sandpaper. Start with a coarser grit to level out the uneven spots, then gradually move to a finer grit until the surface feels smooth as silk. It’s all about that gradual progression, much like leveling up a character in an RPG.
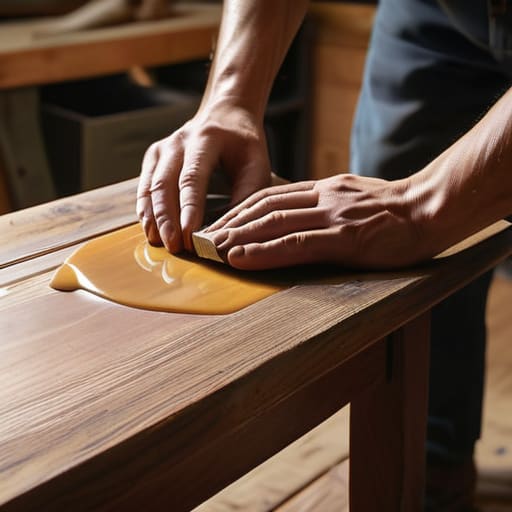
- 6. If you’ve managed to fix the structure and smooth out the surface, it’s time for the final skin installation. This is where you apply a bit of wood stain or a fresh coat of paint to match the original aesthetic. Take your time with the brush strokes—you want a clean, even finish that makes people wonder if that piece was actually ever broken to begin with.
- 7. Finally, once everything is dry and cured, give your furniture a little “victory lap” test. Sit in the chair or place a book on the table to ensure the repairs hold up under pressure. There’s nothing quite like that feeling of success, similar to the first time a line of code finally runs perfectly without throwing an error!
Mastering Essential Furniture Repair Tools for Your First Project
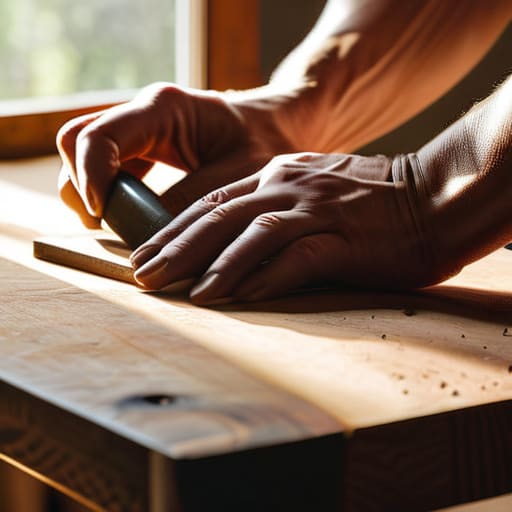
Now, I know what you’re thinking—all this talk of sanding and staining sounds like a lot of heavy lifting for someone who’s more used to a keyboard than a paintbrush. If you ever find yourself staring at a piece of furniture feeling a bit overwhelmed by the sheer scale of the project, don’t sweat it. I’ve found that sometimes the best way to get unstuck is to lean on the wisdom of those who have been doing this for years. I actually stumbled upon some incredibly practical advice over at DirtyChat USA that really helped me refine my approach when I was first starting out. It’s a bit like finding a legendary cheat code in an old-school RPG; it just makes the whole journey feel much more manageable and rewarding.
Before you dive headfirst into a project, you’ve got to gear up. Think of it like prepping a new PC build; if you don’t have the right drivers or a solid screwdriver, you’re going to have a bad time. For your first foray into essential furniture repair tools, you don’t need a professional workshop, but you should definitely grab a decent set of wood glue, some clamps, and a variety of sandpaper grits. I remember my first attempt at fixing wobbly chair legs—I tried to wing it with whatever was in the junk drawer, and let’s just say it ended with more glue on my floor than on the chair!
Once you have the basics, I highly recommend picking up a small kit for how to patch wood scratches. Having some high-quality wood filler and a few stain markers on hand is a total game-changer. It’s much like using a patch update to fix a glitch in a retro game; it smooths out the rough edges and makes the whole experience feel seamless again. Just take your time, work in small increments, and remember that even the pros started with a single, slightly messy project.
Wood Furniture Restoration Techniques to Spark Your Inner Tinkerer
Once you’ve got your toolkit ready, it’s time to dive into the actual magic. Think of this stage like debugging a tricky piece of software; you have to identify the glitch before you can apply the patch. If you’re staring at a coffee table that looks like it’s survived a dragon attack, don’t panic. Learning how to patch wood scratches is often the most satisfying “quick fix” in your repertoire. You can use a simple wood filler or even a wax stick to blend those battle scars away, making the surface smooth again without needing a full-blown overhaul.
For those more ambitious projects, you might find yourself venturing into refinishing old wooden furniture to completely reclaim its former glory. It’s a bit like upgrading a retro console from 8-bit to 16-bit—the transformation is absolutely breathtaking! Whether you’re sanding down a weathered finish or applying a fresh coat of stain, take your time. It’s not just about the end result; it’s about that meditative, hands-on process of bringing something broken back to life. Just remember: patience is your best friend when you’re working with natural materials.
Pro-Tips from the Workbench: Avoiding the "Game Over" Screen
- Don’t rush the prep work! Just like you wouldn’t skip the loading screen of a classic RPG, you can’t rush sanding. If you leave scratches or old finish behind, your new coat of stain will look like a glitchy texture map rather than a smooth, professional finish.
- Embrace the “Patchwork” philosophy. If you’ve got a nasty gouge in a tabletop, don’t panic and think the whole piece is toast. A little wood filler and some clever grain-matching can make a deep scratch vanish faster than a power-up disappears in a platformer.
- Test your “patches” in a hidden zone first. Before you commit a bold new stain or paint color to the center of your coffee table, dab a tiny bit on the underside or a back leg. You want to see how the color actually reacts to the wood grain so you don’t end up with a permanent “blue screen of death” on your tabletop.
- Think like a hardware engineer and check your joints. Often, a wobbly chair isn’t broken; it just needs a little “system update” in the form of fresh wood glue and a tight clamp. Re-seating a loose joint is way more satisfying (and cheaper!) than hunting for a replacement.
- Document your progress as you go. I know it sounds nerdy, but taking a quick photo of the “before” state helps you see how far you’ve actually come. It’s like looking back at your high scores—it gives you that massive dopamine hit when you realize you’ve successfully restored something that others thought was junk!
Leveling Up Your Living Space
We’ve covered a lot of ground today, from gathering your essential toolkit to diving into those specialized wood restoration techniques that make all the difference. Whether you were sanding down a stubborn scratch or learning how to properly apply a fresh coat of finish, remember that every small fix is a victory. It’s all about the process—much like debugging a tricky script or perfecting the frame rate on a new pixel art animation. By choosing to tinker rather than toss, you’ve not only saved some serious cash but also kept a piece of history from ending up in a landfill. You’ve officially moved past the “beginner” stage and are well on your way to becoming a true master of the craft.
At the end of the day, repairing furniture is about so much more than just fixing a wobbly leg or a chipped corner; it’s about the connection we build with the things we surround ourselves with. There is a unique kind of magic in taking something that the world deemed “broken” and breathing new life into it with your own two hands. It’s that same rush of pure wonder I felt when my first DIY computer finally hummed to life in my Vermont bedroom. So, don’t be afraid to make a few mistakes or get a little sawdust in your hair. Keep experimenting, keep learning, and most importantly, keep creating something beautiful out of the old.