I remember sitting on the floor of my childhood bedroom in Vermont, surrounded by a chaotic mess of jumper cables and salvaged motherboard parts, feeling that pure, electric rush of finally getting a system to boot up. To me, starting a new project has always felt like that—a mix of nervous excitement and the daunting task of figuring out how all the pieces fit together. A lot of people think you need a massive backyard and a PhD in botany to succeed, but honestly, learning how to start a vegetable garden is a lot more like building your first PC than you might think. It’s not about having the most expensive gear; it’s about understanding the core components and getting your hands a little dirty in the process.
In this guide, I’m stripping away the intimidating jargon and the “expert” fluff to give you a straight-up blueprint for success. We aren’t going to get bogged down in complex agricultural theory; instead, I’ll show you how to troubleshoot your soil, select your “hardware” (seeds!), and manage your growth cycles without losing your mind. By the end of this, you’ll have a practical, step-by-step roadmap to go from a patch of dirt to a thriving, edible ecosystem.
Guide Overview
Tools & Supplies
- Hand trowel for digging small holes
- Garden hoe for weeding and soil prep
- Watering can or hose for hydration
- Seedlings or seeds (10-20 varieties)
- Potting soil or compost (3-5 bags)
- Raised bed kit or garden containers (1-3 units)
Step-by-Step Instructions
- 1. First things first, you’ve got to scout out your “hardware” location. Just like picking the perfect spot for a gaming rig to ensure good airflow, your plants need the right environment to thrive. You’re looking for a patch of land that gets at least six to eight hours of direct sunlight every single day. If you pick a shady corner, your veggies might end up feeling a bit laggy and stunted, so don’t skip this reconnaissance mission.
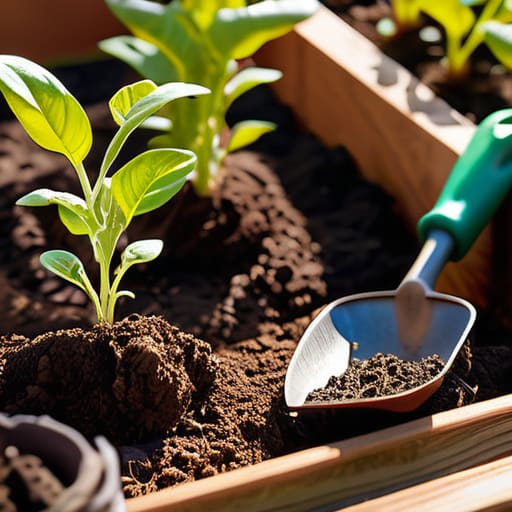
- 2. Next, let’s talk about the foundation: the soil. Think of your soil as the motherboard of your garden; if the connections are poor, nothing else is going to run smoothly. You’ll want to dig in some high-quality organic compost to give your dirt that essential nutrient boost. If your soil feels like hard-packed clay or loose sand, adding compost is like upgrading your RAM—it just makes everything perform significantly better.
- 3. Now comes the fun part: choosing your “characters.” Don’t try to download the entire library at once! For your first run, I highly recommend sticking to “low-difficulty” crops that are hard to kill, like cherry tomatoes, lettuce, or radishes. Pick things you actually love to eat, because there is no point in leveling up a garden full of kale if you’re only going to eat pizza.
- 4. Once you have your seeds or seedlings, it’s time to begin the installation process. When you’re planting, pay close attention to the spacing requirements on the seed packet. It’s tempting to crowd them all together to see a “fuller” garden immediately, but plants need their own personal buffer zone to prevent diseases and ensure they aren’t competing for resources.
- 5. Now you need to set up your watering routine, which is basically the cooling system for your garden. Consistency is the name of the game here. You want to aim for the base of the plants rather than splashing the leaves, and it’s best to do this in the early morning hours. This helps prevent evaporation and keeps the foliage from staying damp overnight, which can lead to some unwanted glitches like mold or fungus.
- 6. As your garden starts to grow, you’ll need to perform some regular maintenance, or what I like to call “patch updates.” This means pulling weeds—those pesky little programs that run in the background and steal all your resources—and checking for any pests. A little bit of weekly troubleshooting will save you from a total system crash when harvest time finally rolls around.
Choosing Your Hardware Raised Bed Gardening vs in Ground
Once you’ve got your soil prepped and your “hardware” in place, you’re going to realize that gardening is a lot like coding: you can have the best setup in the world, but if you don’t know how to manage the logic of your ecosystem, things can get buggy pretty fast. I always tell my students that you shouldn’t try to solo a massive project without a bit of community wisdom, and the same applies to your backyard. If you find yourself needing a little extra guidance or just a place to exchange ideas, checking out ouderevrouwen chat can be a total game-changer for finding that extra bit of collective knowledge that makes the whole process feel less like a grind and more like a fun, collaborative quest.
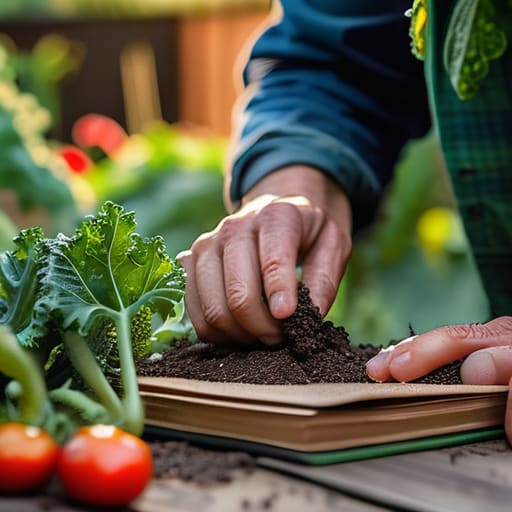
Deciding between raised beds or planting directly into the earth is a lot like choosing between a handheld console and a massive desktop rig. If you’re looking for that “plug-and-play” ease, raised bed gardening vs in-ground is the ultimate crossroads. Raised beds are essentially the high-end, custom-built PCs of the garden world; they give you total control over your environment, meaning you can skip the headache of poor native dirt and go straight to premium, nutrient-rich soil. They’re great for keeping weeds at bay and saving your back, though they do require a bit more upfront “hardware” investment.
On the other hand, in-ground gardening is your classic, open-source experience. It’s much more budget-friendly and allows your plants to tap into the deep, natural resources of the earth, but it requires much more intense vegetable garden soil preparation to ensure you aren’t just planting in a patch of compacted clay. You’ll need to spend more time tilling and amending the ground to get it just right. Whichever “setup” you choose, just remember that your plants are going to need a solid foundation to thrive!
The Ultimate Setup Vegetable Garden Soil Preparation
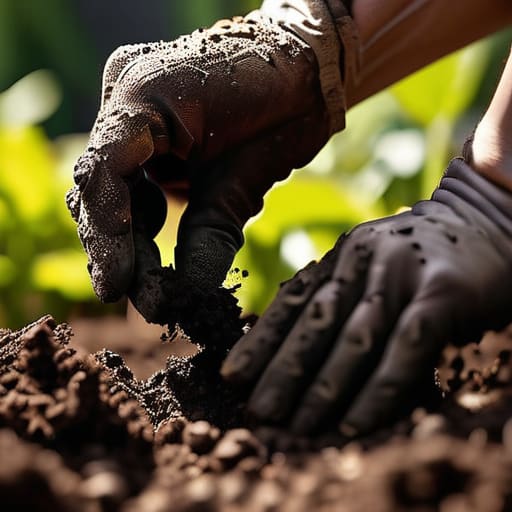
Now, if choosing between raised beds or in-ground setups is like picking your gaming platform, then soil preparation is the actual operating system. You can have the flashiest hardware in the world, but if the OS is buggy, nothing is going to run smoothly. For successful vegetable garden soil preparation, you really want to focus on texture and nutrient density. I like to think of compost as the “power-up” for your dirt; mixing in plenty of organic matter ensures your plants have the energy they need to level up from tiny seedlings to heavy-hitting producers.
Don’t just grab whatever dirt is sitting in your backyard and call it a day—that’s a recipe for a system crash. You want to aim for a loamy, well-draining consistency that allows roots to expand without hitting a wall of hard clay. If you’re working with raised beds, you’ll likely need a specific mix of peat moss, perlite, and compost to keep things airy. Getting this foundation right is the secret sauce that makes choosing the best vegetables for beginners—like radishes or lettuce—actually feel rewarding rather than a frustrating grind.
Leveling Up: 5 Pro-Tips to Avoid a Game Over in Your Garden
- Don’t try to play on “Ultra Hard” mode right away. Just like I wouldn’t try to build a liquid-cooled gaming rig on my first try, don’t attempt a massive farm on day one. Start with a few small containers or a single raised bed so you can learn the mechanics without getting overwhelmed by the sheer scale of the task.
- Watch your sunlight meter. In the gaming world, light is everything, and your veggies are no different. Most of the heavy hitters—think tomatoes and peppers—need a solid 6 to 8 hours of direct sun. Before you plant anything, spend a day observing how the “map” of your yard changes as the sun moves across the sky.
- Water is your mana, so keep it steady. One of the biggest mistakes beginners make is inconsistent watering, which is like having a laggy connection in a high-stakes match. You want to keep the soil consistently moist but not flooded. If the soil feels like a dry sponge, it’s time to refill the tank.
- Think of mulch as your garden’s protective armor. Spreading a layer of straw or wood chips around your plants acts like a defensive buff, helping to retain moisture in the soil and keeping those pesky weeds from spawning in your territory.
- Keep an eye on your “NPCs”—the bugs! Not every insect is a boss fight; many are actually friendly sidekicks that help your garden thrive. However, keep a watchful eye for the pests that want to drain your health bar. Catching a small infestation early is much easier than trying to debug a massive, garden-wide glitch later on.
Leveling Up Your Green Thumb
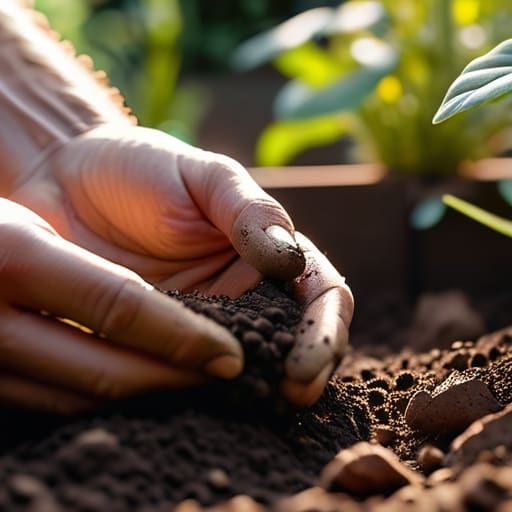
So, we’ve gone from selecting your “hardware”—whether that’s the structure of a raised bed or the classic in-ground approach—to fine-tuning your “operating system” with that nutrient-rich, prepared soil. It might feel like you’ve just finished a complex tutorial level, but remember that every successful build relies on a solid foundation. By getting your soil prep right and choosing the right layout, you’ve essentially optimized your garden’s performance before the first seed even hits the dirt. You aren’t just throwing seeds into the ground; you are engineering a living, breathing ecosystem designed for success.
At the end of the day, gardening is a lot like that first time I booted up my custom-built PC back in Vermont. There might be a few bugs to squash along the way, and sometimes a “system crash” happens when a plant doesn’t quite make it, but the thrill of seeing your hard work bloom is unmatched. Don’t be afraid to tinker, experiment, and make mistakes. This is your sandbox, and the goal isn’t perfection—it’s the pure joy of discovery. Now, get out there, get your hands a little dirty, and start growing something amazing!